How to Make Perfect Dungjitwigim: Traditional Korean Recipe with Nutrition Facts
🇰🇷 The recipe below is based on official Korean MFDS (Ministry of Food and Drug Safety) data.
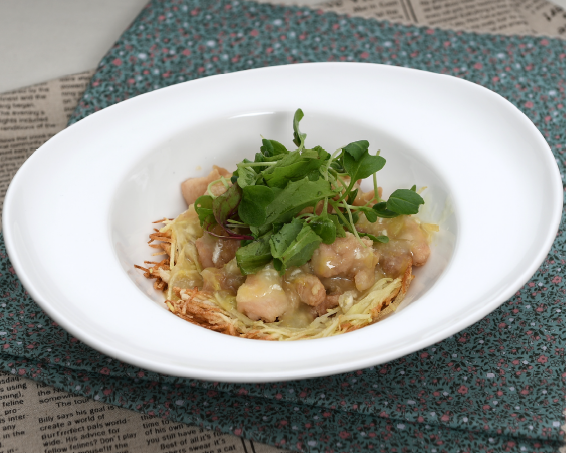
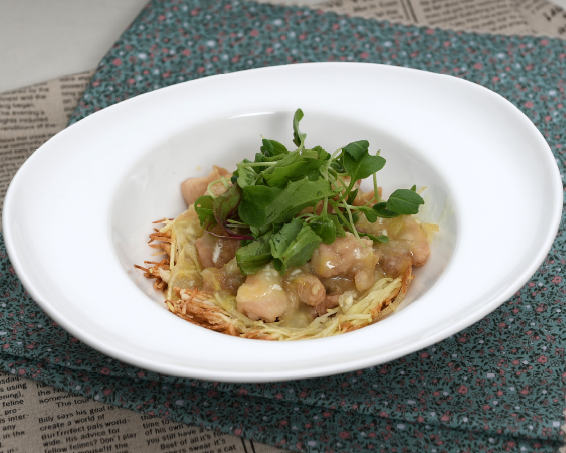
This comprehensive guide to making authentic Dungjitwigim (Crispy Nest Fry) is based on official MFDS (Ministry of Food and Drug Safety) data, ensuring a reliable and traditional approach to this beloved Korean dish. Dungjitwigim is a delightful Korean fried dish, celebrated for its crispy texture and savory flavor, often featuring chicken and thinly shredded potato fried into a nest-like shape. If you’re looking for a genuine Dungjitwigim recipe, you’re in the right place to learn how to prepare this unique and flavorful meal at home.
## Expert Tips for Perfect Dungjitwigim
Achieving the perfect crispy texture is key for Dungjitwigim.
* **Oil Temperature:** Maintain a consistent oil temperature, ideally around 170-175°C (338-347°F). Too low, and your fritters will be greasy; too high, and they’ll burn before cooking through.
* **Batter Consistency:** The batter should be thick enough to coat the chicken and bind the potato shreds without being overly heavy. Adjust with small amounts of water or flour if needed.
* **Double Frying:** For an extra crispy exterior, consider a quick second fry after the fritters have cooled slightly. This method, often used in Korean frying, expels residual moisture and enhances crispiness.
## The History of Dungjitwigim
Dungjitwigim, while not as ancient as some staple Korean dishes, embodies the creative spirit of Korean home cooking, transforming simple ingredients like chicken and potatoes into an appealing and satisfying dish. Its name, “Crispy Nest Fry,” directly references its visual appeal, where ingredients are often shaped to resemble a bird’s nest. This dish reflects a broader culinary tradition of *twigim* (fried foods), which are popular as snacks, side dishes, and even components of larger meals. Its popularity stems from its comforting familiarity and the satisfying crunch it offers, making it a favorite for all ages, particularly in casual dining settings and as part of festive spreads.
## Nutrition Facts (Based on MFDS Data)
Understanding the nutritional breakdown of your food is important. This information is derived directly from official MFDS sources for a single serving of Dungjitwigim:
| Nutrient | Amount |
| :——– | :——- |
| Calories | 415.3 kcal |
| Protein | (Data not specified) |
| Fat | (Data not specified) |
| Carbohydrates | (Data not specified) |
Please note that only the calorie count was specifically provided in the official data. Other nutritional values would vary based on exact preparation and additional ingredients.
## Ingredients for Authentic Dungjitwigim
To prepare this delicious Dungjitwigim, you will need the following ingredients:
* Chicken breast (lean meat): 100g
* Egg: 1 large
* Lemon: 1/4 piece (for freshness and flavor)
* Whole cinnamon stick: 5g (for aroma, can be omitted)
* Potato: 150g
* Baby greens: 20g (for garnish)
* Quail eggs: 3 pieces (for garnish)
* Salt: 0.2g
* Black pepper powder: 0.01g
* All-purpose flour: 50g
* Starch (corn or potato starch): 20g
* Sugar: 20g
* Cooking oil for deep frying
**Substitutions:** You can use chicken thighs instead of breast for a juicier result. For starch, either cornstarch or potato starch works well.
## Step-by-Step Dungjitwigim Recipe
Follow these steps to create your own crispy and delicious Dungjitwigim.
1. **Prepare the Chicken and Potatoes:**
* Pat the chicken breast dry and finely mince it or cut it into very small cubes. Season with 0.2g salt and 0.01g black pepper powder.
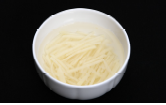
* Peel the potato and julienne it into very thin strips, resembling matchsticks. Rinse the potato strips under cold water to remove excess starch, then pat them completely dry. This step is crucial for crispiness.
2. **Make the Batter:**
* In a large bowl, combine the minced chicken, dried potato strips, 50g all-purpose flour, and 20g starch. Crack in the egg.
* Mix thoroughly until all ingredients are well combined and the chicken and potato are evenly coated. The batter should be sticky enough to hold its shape.
3. **Shape and Fry:**
* Heat cooking oil in a deep pan or pot to approximately 170-175°C (338-347°F).
* Carefully take a small portion of the mixture (about 2-3 tablespoons) and form it into a loose, flat, nest-like patty.
* Gently slide the patties into the hot oil. Do not overcrowd the pan.
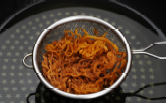
* Fry for about 3-4 minutes on each side, or until golden brown and crispy. Ensure the chicken is cooked through.
* *Mom’s Tip 1:* For even crispier nests, gently flatten them with the back of a spatula during frying.
4. **Drain and Garnish:**
* Remove the fried Dungjitwigim from the oil and place them on a wire rack lined with paper towels to drain excess oil.
* While still warm, lightly sprinkle with 20g sugar for a hint of sweetness. You can also grate a tiny amount of lemon zest or a pinch of ground cinnamon (from the 5g whole stick) for added aroma.
* Boil the 3 quail eggs until firm, then peel and halve them.
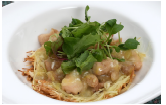
* Arrange the baby greens on a serving plate. Place the hot Dungjitwigim on top, and garnish with halved quail eggs and a lemon wedge from the 1/4 piece of lemon.
* *Mom’s Tip 2:* Don’t skip the lemon! A squeeze of fresh lemon juice before serving cuts through the richness and brightens the flavors beautifully.
5. **Serve Immediately:**
* Dungjitwigim is best enjoyed fresh and hot to savor its crisp texture.
## Frequently Asked Questions
**Q1: Can I make Dungjitwigim ahead of time?**
A1: While best served immediately, you can fry them slightly less (light golden) and store them. Reheat in an oven or air fryer at 180°C (350°F) for 5-7 minutes until crispy again.
**Q2: What dipping sauce pairs well with Dungjitwigim?**
A2: A simple soy-vinegar dipping sauce (soy sauce, vinegar, a touch of sugar, and minced garlic) or a sweet chili sauce complements the savory notes of Dungjitwigim perfectly.
📸 Recipe Gallery
📺 For reference, here’s a recommended YouTube video related to “둥지튀김”.
📹 Video sourced via YouTube. All rights belong to the respective creator.